WEEK 7
For week 7, it was yet again another synchronous online tutorial session, whereby we were introduced to a CADD software called Fusion 360. Most of us are fresh beginners to this software and some of us never imagined ourselves drawing virtually via a software. Initially we were highly intrigued by its features, functions, and layout and intimidated even to start something so foreign to us. However, we were excited to find out what we would be doing using this software for the tutorial session and how we can apply the skills learnt for future projects.
What is computer-aided drafting and design(CADD)? 💻
It is using softwares to draw and design physical components of a product or to layout processes. CADD can be used to draw lines and shapes easily while saving time and effort. Content can also be copied, edited, saved and shared extensively. Additionally, this software allows us to accurately calculate dimensions and measurements when designing a product. More advanced softwares can even estimate the types and amount of materials required, and how much manufacturing time needed to facilitate budget planning easily.
Fusion 360 📂
For the lesson, we had to use Fusion 360 by Autodesk to draw objects using its features. Essentially, Fusion 360 is an all-in-one tool that connects the entire product development process comprising many areas such as design to manufacturing.
Activity 1 - Keychain 🔑
The first object we were tasked to draw was a keychain. The purpose of the activity was to introduce us to the basics of Fusion 360 and to familiarise ourselves with its features. We had to follow a video or the pdf made by the lecturers step-by-step to create the final product.
Here were some of the features we had to make use of to create the keychain:
These were the sketches we created :

Kairong’s Keychain😄

Jerome’s Keychain😎
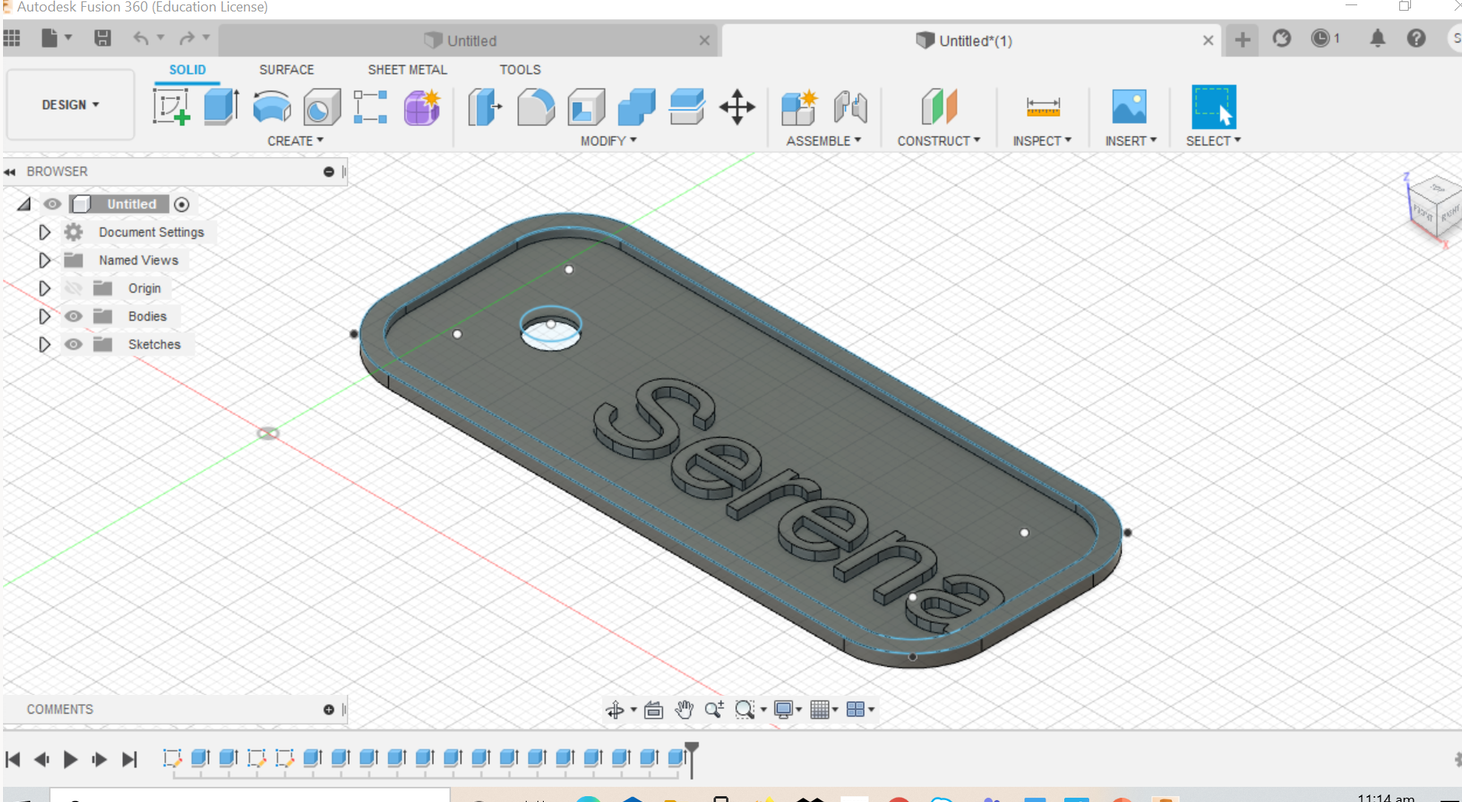
Serena’s Keychain😅
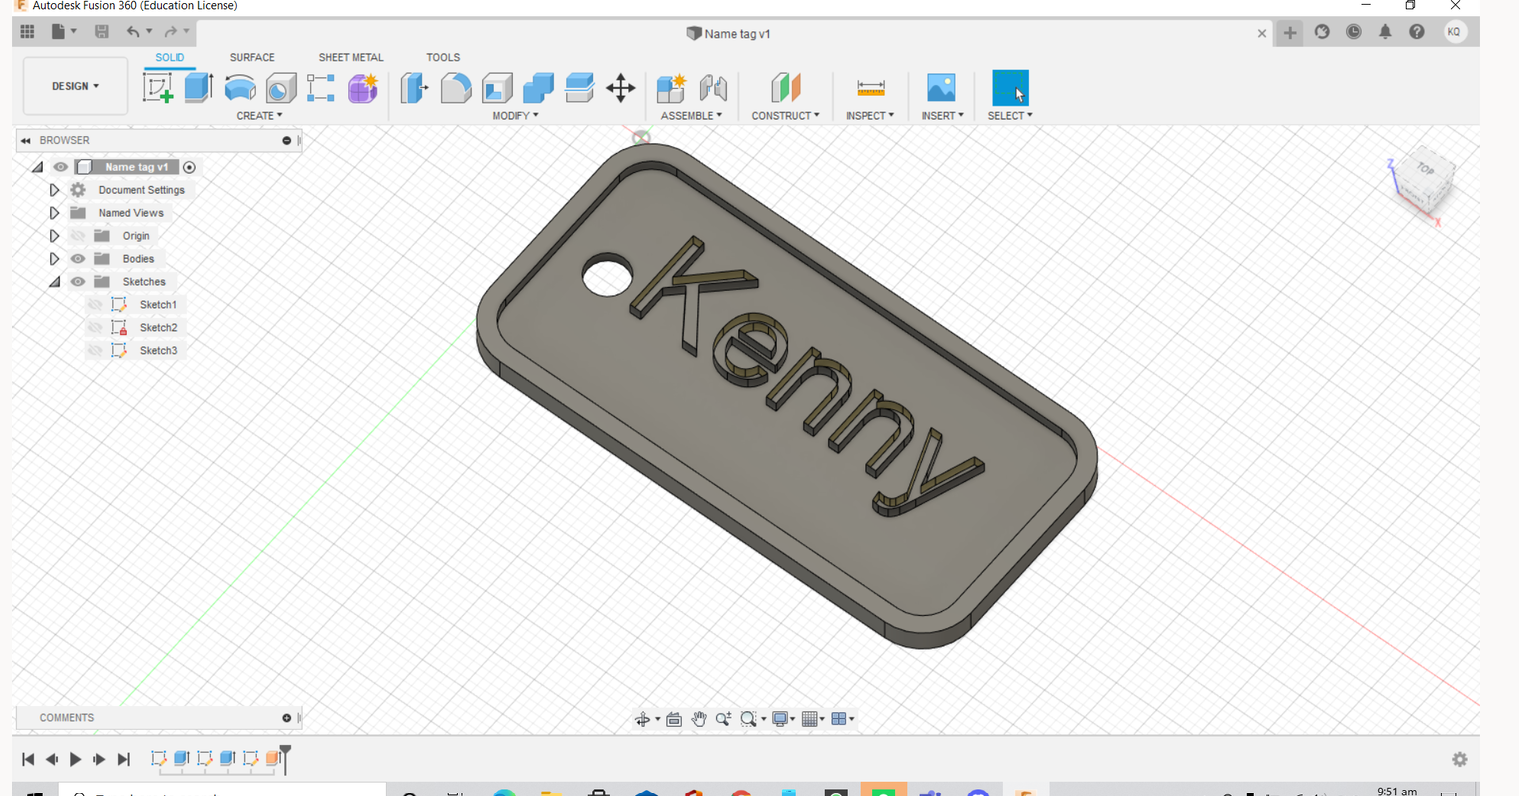
Kenny’s Keychain😜
Image of 3D Printed KeyChain!!! 😁💥🙌😱💥🌈

Reflections 🧠:
Initially, some of us were very confused 😖about the sketching and extruding process to form the product despite following the video and pdf. However, after sharing screen and clarifying with Dr Noel, we started to slowly get the hang of how the different functions work and we managed to create the final product🌈.
Activity 2 - Sketch Constraints 📐
Next, Dr Noel introduced us to sketch constraints📐. Essentially they are limitations on a design such as imposed limitations that we cannot control and limitations that we will impose ourselves for the purpose of improving a particular design.
Some of the sketch constraints and functions and functions we learnt from the lesson include:
These were the sketches we created:


Post Tutorial Assignment - Photoframe 🖼
And lastly, for our post tutorial work, we had to design and draw the various components to form a photo frame 🖼 for a 4R photograph of size 102mm x 152mm. After discussing, we came up with these dimensions for the parts of the photo frame:
Part 1: 112mm x 162mm x 2mm
Part 2(transparent): 102mm x 152mm x 2mm
Part 3: 112mm x 162mm x 2mm
Part 4:122mm x 172mm x 2mm
The sketches for the individual parts and assembled parts are as follows:


💭 Summary of what we learnt
We have learnt many different functions we can use in Fusion 360 to construct a 3D model of a product as documented in tables 1 and 2 above. The beauty of these functions lie in the fact of how we can change a simple 2D sketch into a detailed 3D model which is an actual representation of how a finished 3D product should look like .
Moreover, learning how to use such a software will allow us to create blueprints for our product, when designing. In terms of deciding dimensions, this software allows us to have an accurate 3D view of how different dimensions would look like on the product from which we can decide the best dimensions, while saving time and effort.

Comments
Post a Comment